Saturday 27 February 2010

Fobney Lock moorings washed out

Upstream from the action at County Weir (see today's previous post), the River Kennet was high enough to swamp the canal boat moorings below Fobney Lock.

Approaching Fobney Pumping Station.

High level on the gauge.

The pillars of the metal mooring platform are just visible.

Looking downstream towards Reading...

...and back to the bridge.  At more normal levels there is often a small spit of land by the bridge pillar, favoured by fishermen, which provides an access point at the end of the last independent stretch of the river which rejoins the Navigation here.

RBFRS WRU training at County Weir

The current water levels on the Kennet provided Royal Berkshire Fire and Rescue Service (RBFRS) with optimum conditions for the Caversham-based Water Rescue Unit (WRU) to practice at County Weir in Reading today.

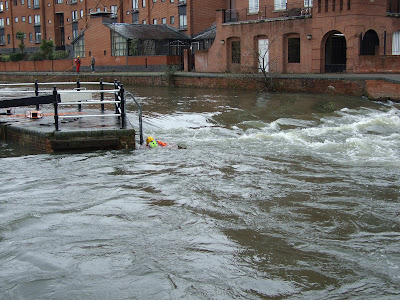
Practising recovery from the top of the weir:

'Stranded' on the lip of the weir...

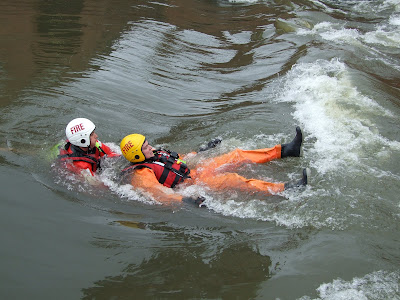
...retreived from upstream by a tethered rescuer...

...and returned to the bank above the weir.  Note the barrages across the river in the background.  It is apparently not uncommon for inebriated individuals to take a swim after trying to cross the top of these.

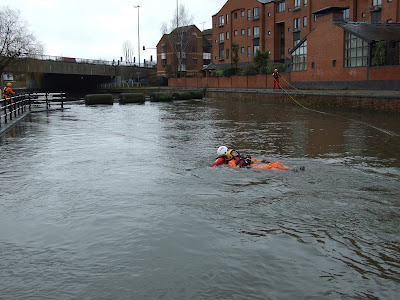
A managed 'swim' with a tethered rescuer:

Going...

...going,...

...gone.

Note that the eddy formed by the lock river right is the best direction to swim,...

...and provides a laddered climb out just below the weir. At lower levels than today's water there can be a strong tow-back river left.

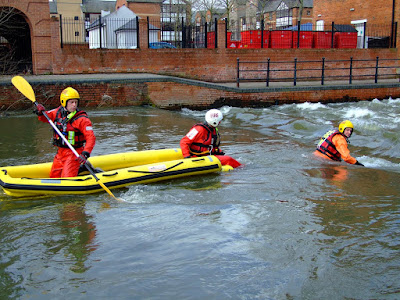
A specialist WRU inflatable sled is used for rescue from above and below hazards:

Approaching a person stranded on a hazard from above...

...and rescuing from below, having shot the weir without hitting the person to be rescued...

...before towing to the eddy.

Sunday 21 February 2010

Benham Weir potential hazards, late-February 2010

For anyone taking the riverine detour from Benham Weir down to Newbury (see the earlier post on the Middle Reach of the River Kennet), please note a couple of potential dangers at the point where the river exits the canal.

The first is the bar across the bottom of the fish ladder, should you be so tempted.  At the current water levels it's almost obscurred by the flow, but it's definitely still there.

It's easy enough to just shoot the main weir.  Subject to inspection, the second gap from the left is probably the best choice, as it will take you away from the centre, where it's still shallow enough to support plant growth on micro islands below the weir, and away from the heavier flow out from the right hand sluice.  Alternatively, climbing over the tow-path and putting in on the ditch stream to the left of the fish pass should be relatively easy.  In either case you will still need to cross the turbulence from the main sluiced outflow to proceed downstream.

The fish pass wasn't designed for paddlers and includes a steel bar across the bottom.

The view downstream from the left of the weir.

If you opt to put in downstream of the weir it's probably safer to pass to the right of the old concrete pillbox, as it's footings to the left continue to to be undermined by the action of the water flowing out of the main sluice.

The flow out from the main sluice at the right of the weir...

...continues to erode the footings of the platform around the pillbox.